

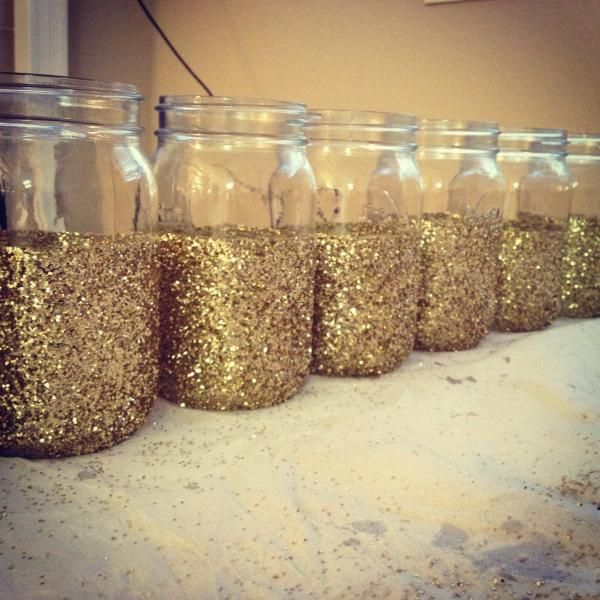
DIY Glitter Mason Jar Centerpieces
Looking for a cute and fun way to make your centerpieces sparkle? Try this DIY glitter mason jar centerpiece! It is simple to use and easy to customize to any wedding color or style!
Things you’ll need:
Mason Jars (any size you want for your centerpiece)
Mod Podge
Glitter (any color you want!)
Paint or Sponge Brush
Large Bowl
Tape (optional)
- Pour the glitter into the bowl. It may be a good idea to do this outside or to lay a sheet or newspaper down! Glitter can be messy!
- Paint the outside of the mason jar with the mod podge. As far up as you want to be covered in glitter. If you only want part of the jar covered you can use tape to mark off how high to paint on the glue.
- Roll the mason jar in the glitter until all of the mod podge is covered. Don’t be afraid to use your hands to pack on the glitter!
- Leave the mason jars to dry for about 6 hours. Make sure to remove the tape before the glue dries so it doesn’t peel the glitter off when it’s dry!
- You can add a topcoat of mod podge after the mason jars dry in order to prevent the glitter from coming off in your hands! Don’t worry the mod podge will dry clear!
Don’t forget to customize your mason jars with different colors and flowers to make your centerpiece pop! If you are looking for more wedding DIY inspiration check out Rock The Aisle Bridal’s local NJ bridal shows for more ideas! To view and register for upcoming shows visit us at http://www.rocktheaislebridal.com/